You press the power button on a sweltering Kuala Lumpur afternoon. Nothing happens. No beep, no light, no cold air.
We know the immediate sinking feeling that follows.
Heat in this city is unforgiving, and the thought of a broken unit is stressful.
Before you spend money on a service call, take a deep breath.
We often find that “dead” air conditioners are simply victims of a minor connection issue or a setting glitch.
The following guide outlines the exact 8-point inspection our technicians perform when they first arrive at a home.
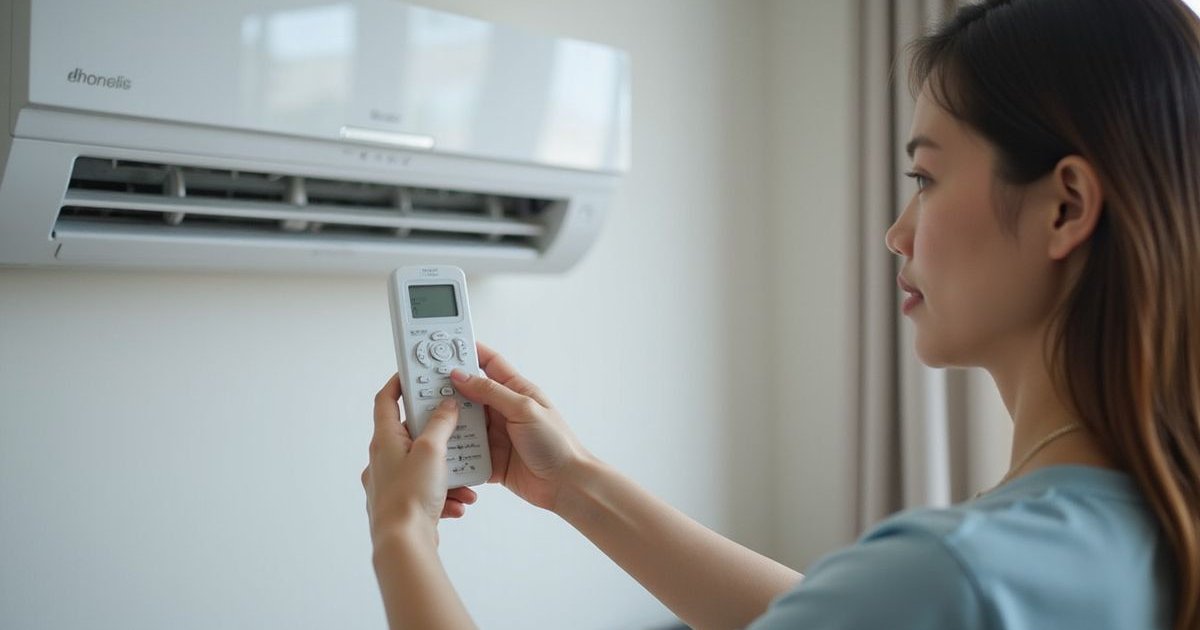
Step 1: Check the Remote Control First
We find that nearly 30% of “AC won’t turn on” calls in the Klang Valley are actually remote control issues.
Test the Batteries Correctly
Weak batteries often have enough juice to display numbers on the LCD screen but not enough to send the infrared signal to the wall unit.
- Remove the old batteries completely.
- Check the battery terminals for white corrosion (common in our humid climate).
- Insert fresh AAA or AA batteries.
- Try the power button again.
The “Camera Trick” to Test the Signal
Smartphone cameras can “see” infrared light that human eyes cannot.
- Open the camera app on your phone.
- Point the remote’s top sensor directly at the camera lens.
- Press any button on the remote while looking at your phone screen.
- If you see a purple or pink flash on your screen, the remote is working.
- No flash means the remote is dead and needs replacement.
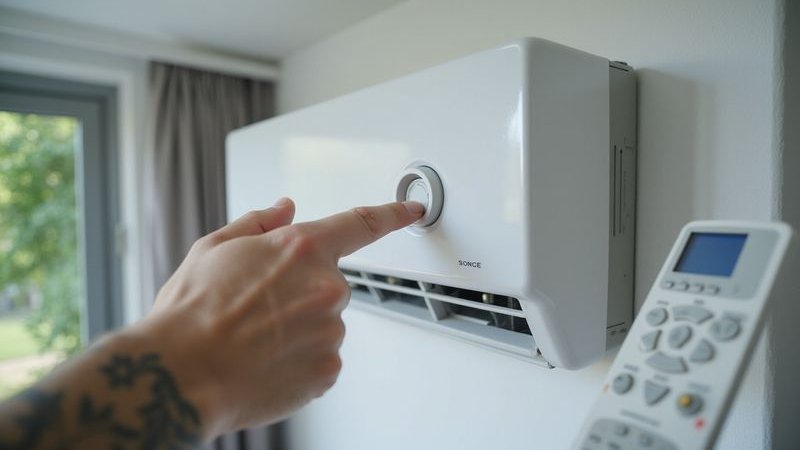
Try the Manual Override Button
Every split unit from brands like Daikin, Panasonic, and York has a manual emergency button hidden on the indoor casing.
- Lift the front plastic cover of the indoor unit.
- Look for a small button on the right side, often labeled “Auto,” “On/Off,” or indicated by a small power symbol.
- Use a pen or your finger to press it gently.
The unit works fine if it turns on via this button.
This confirms the problem is strictly with your remote control or the receiver eye, not the AC itself.
Step 2: Check Power Supply Connections
Inspect the 13A Plug Top
Many older homes in Kepong connect AC units via a standard 3-pin plug rather than a direct wall switch.
- Pull the plug out and check the fuse compartment on the plug itself.
- If the small fuse inside is black or rattling, it has blown.
- Replace it with a standard 13A fuse (available at any hardware store for under RM2).
Verify the Isolator Switch
Most condos and landed properties have a dedicated white switch on the wall next to the unit.
- Ensure the red neon light on the switch is glowing (if equipped).
- Toggle the switch OFF and then ON again firmly to ensure contact.
Extension Cord Warning
We strongly advise against running an AC on an extension cord.
- AC units draw significant amperage that creates heat.
- Extension cords can melt or drop the voltage, preventing the compressor from starting.
- Plug the unit directly into the wall socket whenever possible.
Step 3: Check the Circuit Breaker (DB Box)
A tripped breaker is a safety mechanism, not necessarily a sign of a broken AC.
Locate Your Distribution Board
Go to your electrical box, usually found near the main entrance or in the kitchen area.
- Scan the rows of switches for one that is in the middle or “down” position.
- Look for labels like “AC Master,” “Aircon,” or specific room names like “Master Bed.”
- If you see a switch that is not aligned with the others, it has tripped.
How to Reset Safely
Follow this specific sequence to reset it properly:
- Push the tripped switch fully down to the OFF position first (you should hear a click).
- Push it firmly up to the ON position.
- Return to the AC unit and try turning it on.
The “Instant Trip” Warning
If the breaker snaps back to the OFF position the moment you reset it, stop immediately.
- This indicates a “dead short” in the wiring or the unit.
- Do not attempt to force it up again.
- Forcing the breaker can damage the compressor or cause a fire hazard.
Step 4: Check the Timer Settings
Accidental timer settings are a frequent culprit for units that seem unresponsive.
Cancel All Timers
You or a family member may have inadvertently set an “ON” or “OFF” timer.
- Look at your remote’s display for a clock icon or the words “ON” / “OFF” next to a time.
- Press the “CANCEL” button usually located in the bottom section of the remote.
- On Panasonic and Daikin remotes, you will see the timer indicators disappear from the screen.
Sleep Mode Inteference
Sleep modes often shut the unit down after a set number of hours to save electricity.
- Cycling the power using the remote usually clears this.
- Press the “Mode” button to ensure you are back on “Cool” and not in a specialized program.
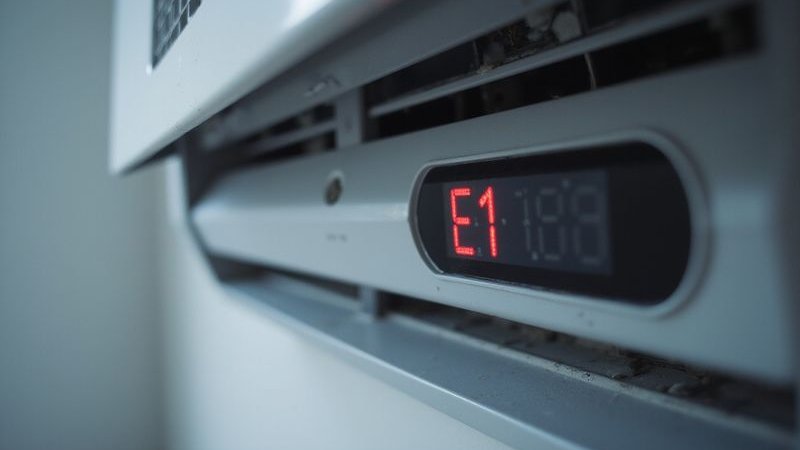
Step 5: Check for Error Codes
Modern inverter units are smart enough to tell you exactly what is wrong.
Reading the Blink Patterns
If the power light on your indoor unit is blinking, count the flashes.
- Daikin: Hold the “Cancel” button for 5 seconds until you hear a beep, then press it repeatedly until a long beep sounds. The code on the screen (e.g., U4, E7) is your error.
- Panasonic: Use a pin to press “Check” for 5 seconds, then scroll through codes until the unit beeps.
Common Error Indications
| Display/Light | Potential Meaning | Action Required |
|---|---|---|
| Blinking Green Light | General Fault | Reset breaker |
| Code “H11” (Panasonic) | Communication Error | Call technician |
| Code “U4” (Daikin) | Signal Error (In/Out) | Check wiring |
| Code “E1” | PCB/Sensor Fault | Board repair needed |
| ”CL” Display | Child Lock Active | Hold lock button to release |
Recording the Code
Write down the code or film the blinking pattern before resetting the power.
- This information helps us prepare the correct spare parts before we even arrive at your house.
- A simple “hard reset” (Step 8) can sometimes clear temporary error codes.
Step 6: Check for Safety Lockouts
The “Float Switch” Cutoff
If you have a ceiling cassette unit or a wall unit with a pump, a full drainage tray will kill the power.
- This switch prevents water from overflowing onto your ceiling or floor.
- If you see water stains nearby or the unit is completely dead, the drain is likely blocked.
- Vacuum the drain line if accessible to release the water and reset the switch.
Thermal Protection
Malaysian heat can sometimes overwhelm older compressors.
- If the outdoor unit gets too hot, an internal overload switch trips to save the motor.
- Turn the isolation switch off for 30 to 60 minutes.
- Spray water gently on the outdoor coil (avoiding electrical parts) to help it cool down.
Step 7: Check the Outdoor Unit
Sometimes the silence inside is caused by a problem outside.
Listen for Activity
Ask someone to stand near the outdoor compressor while you turn the unit on inside.
- Listen for a “click” sound (the contactor pulling in).
- Check if the fan starts spinning.
- Listen for a humming sound without fan movement (often a capacitor failure).
The “Lizard” Factor
We see this constantly in residential areas like Desa ParkCity and Mont Kiara.
- Small geckos (cicak) are attracted to the warmth of the inverter board.
- They often crawl across the circuit board, causing a short circuit that blows the main fuse.
- If you smell a faint burnt odor near the outdoor unit, a pest has likely damaged the electronics.
Step 8: The 5-Minute Hard Reset
Computers glitch, and modern air conditioners are essentially computers with fans.
How to Perform a Master Reset
This process drains all residual power from the capacitors and resets the logic board.
- Turn off the remote control.
- Switch off the main wall switch or pull the plug.
- Go to the DB box and flip the Aircon breaker to OFF.
- Wait for 5 full minutes. This wait time is critical.
- Turn the breaker back on, then the wall switch.
- Wait another 2 minutes for the unit to initialize.
- Attempt to turn it on with the remote.
We solve roughly 15% of “emergency” calls with this simple step alone.
Summary Diagnosis Table
| Symptom | Likely Culprit | Can You Fix It? |
|---|---|---|
| Totally Dead (No Lights) | Power/Plug/Remote | Yes (Check fuse/batteries) |
| Beeps but No Air | Timer/Vane Motor | Yes (Reset remote) |
| Blinking Light | Sensor/Gas Issue | No (Needs diagnosis) |
| Trips Breaker Instantly | Short Circuit/Compressor | No (Safety hazard) |
| Humming Sound Only | Capacitor Failure | No (High voltage part) |
When You Need a Technician
There are limits to safe DIY troubleshooting.
Call for professional assistance if you observe the following:
- The circuit breaker trips repeatedly or sparks.
- There is a burning smell (plastic or ozone) coming from the unit.
- The error code returns immediately after a hard reset.
- You hear loud grinding or buzzing noises.
- The unit is over 12 years old and showing visible rust or oil leaks.
What Information to Provide
Helping us helps you get a faster repair.
Please have these details ready when booking a slot:
- The Brand: (e.g., Daikin, Panasonic, York).
- The Age: Estimate is fine (e.g., “about 5 years old”).
- The Error: “It blinks 3 times” or “It shows code H11.”
- The History: “It was leaking water last week, now it won’t turn on.”
This data allows technicians to bring the specific capacitors or sensors your model likely needs.
Get Help Fast
Tried everything and the heat is still rising?
We are ready to assist.
WhatsApp us at 012-2252 623 with:
- Your AC brand.
- A photo of the error code or unit.
- Your specific location (e.g., “Condo in Mont Kiara”).
Our team attempts to diagnose the issue over the phone first to save you time.
If a site visit is required, we offer priority slots for residents in Kepong, Mont Kiara, Desa ParkCity, and nearby neighborhoods.
Remember: We waive the RM50 diagnostic fee entirely if you proceed with the recommended repair.